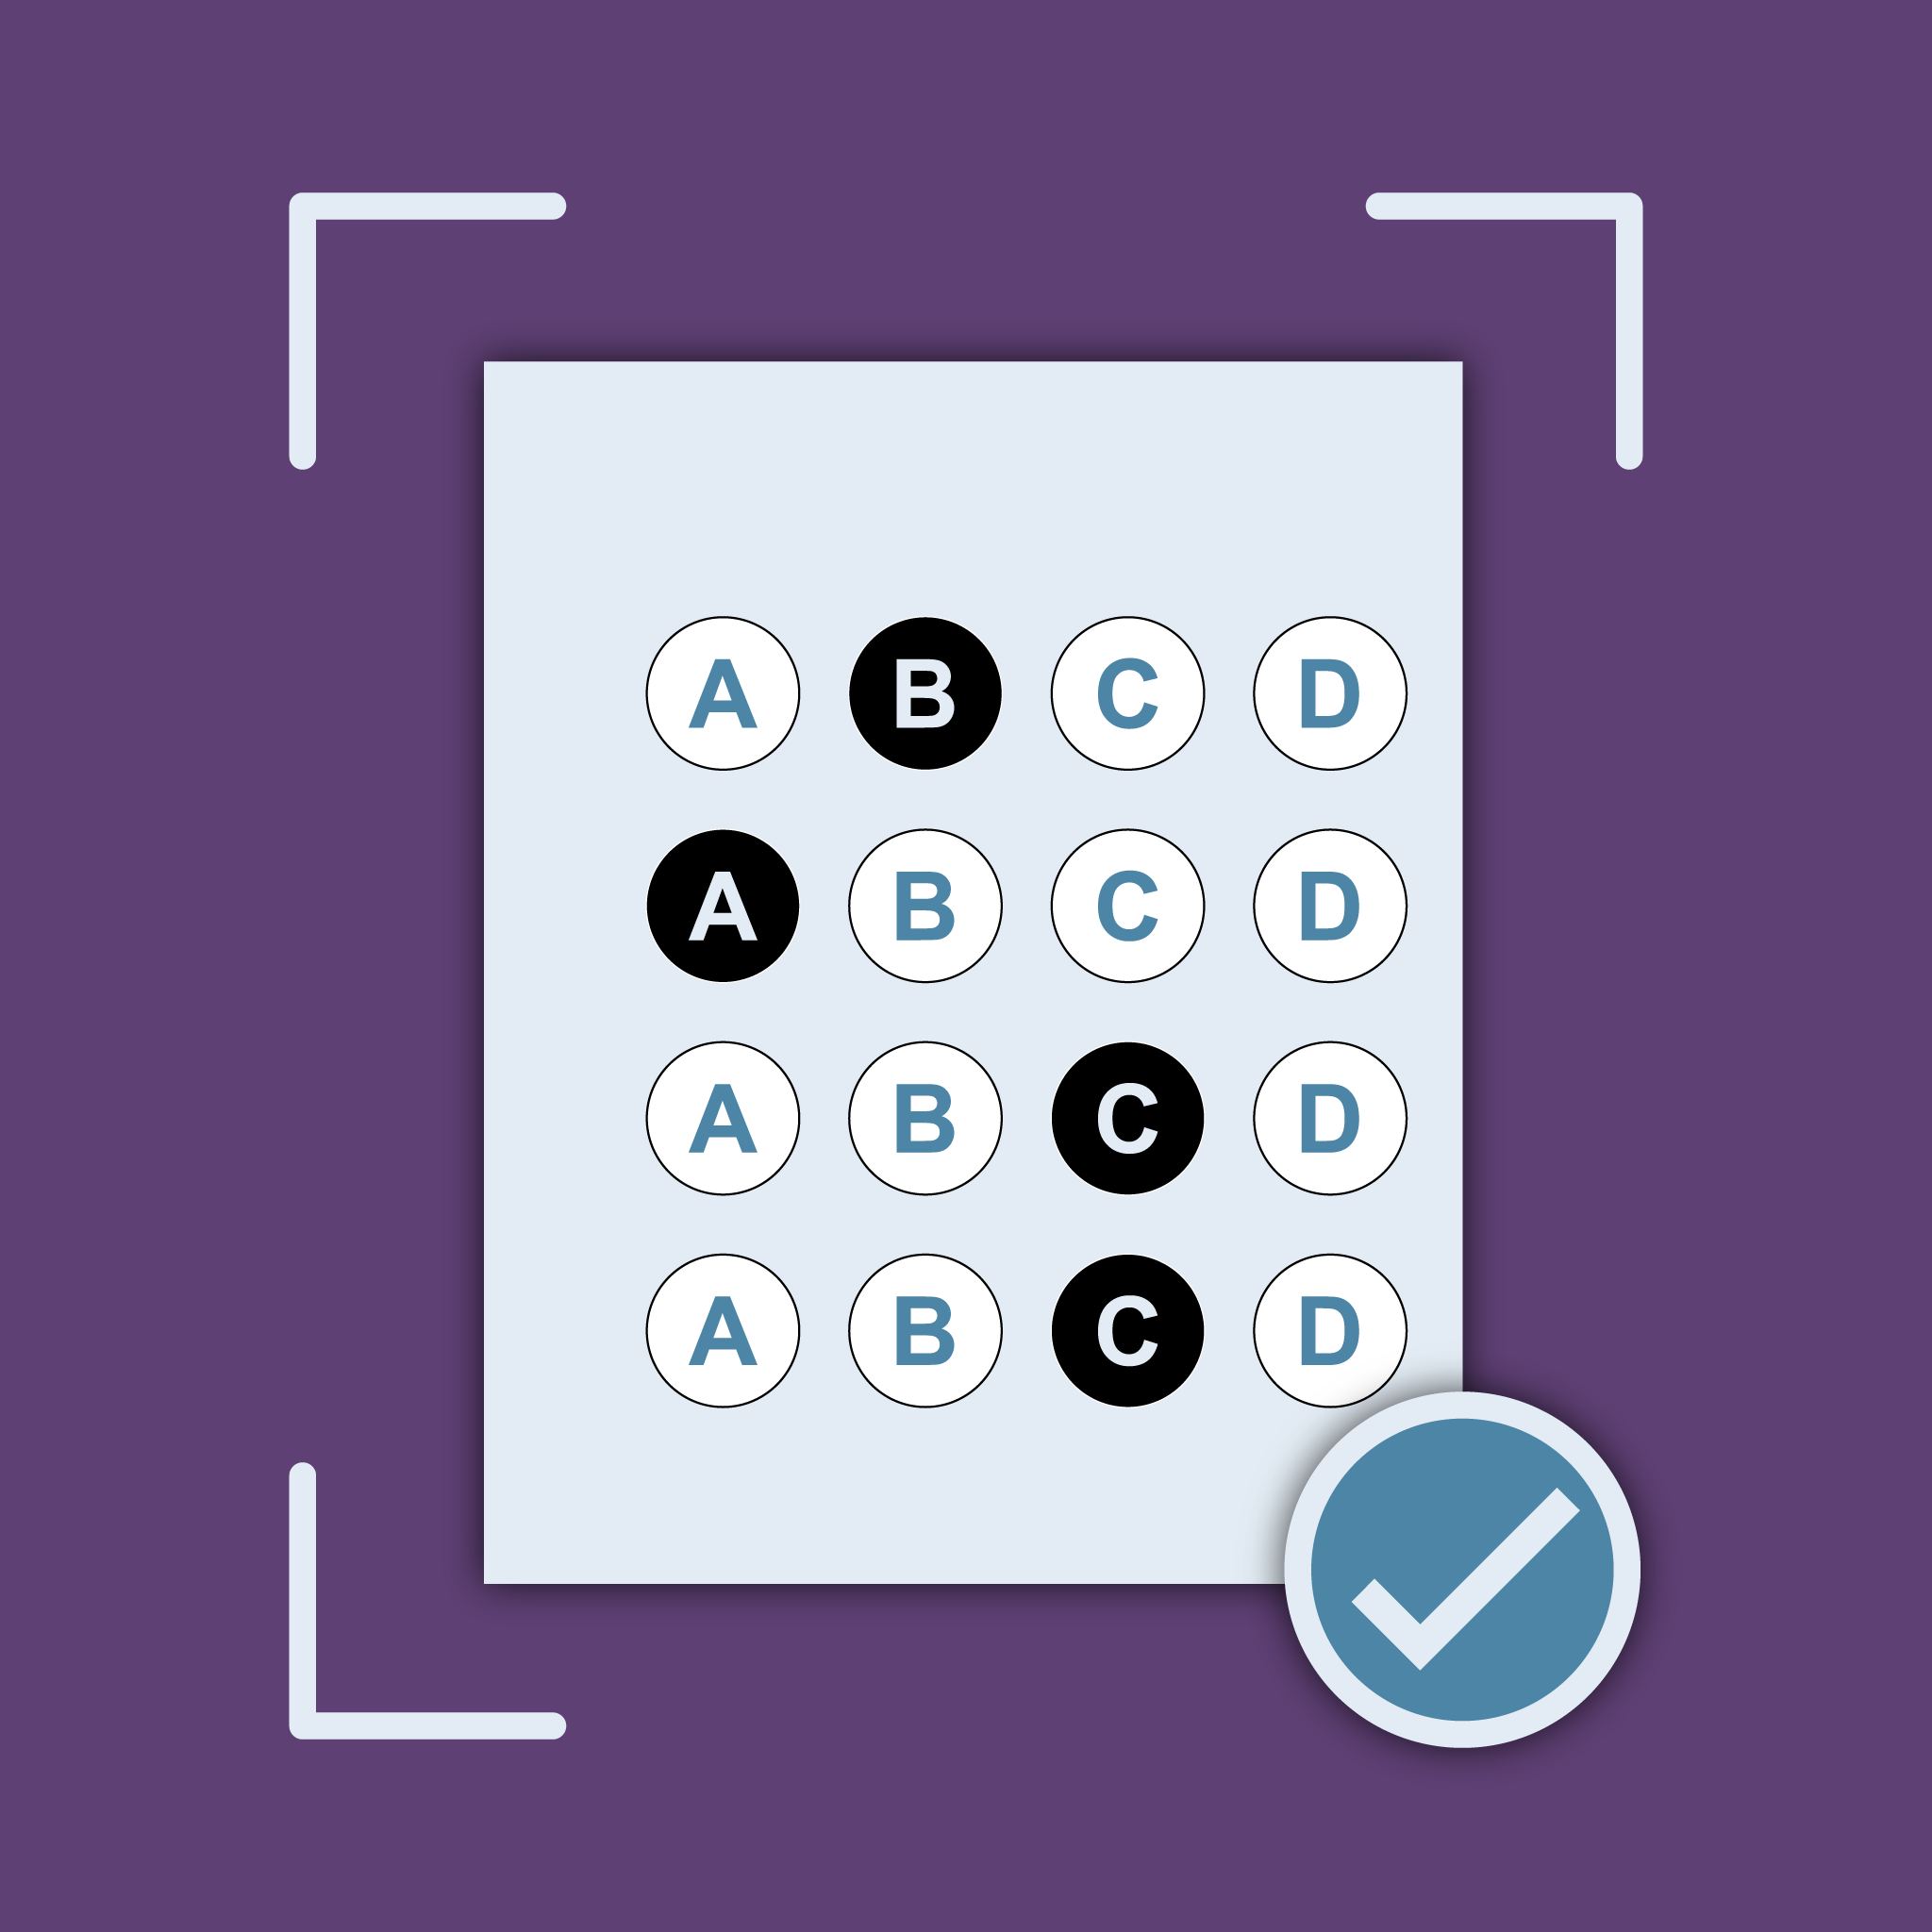
Every test in CamGrader starts the same way: give it a name, choose how many questions it has, and set up its answer key. Here's how.
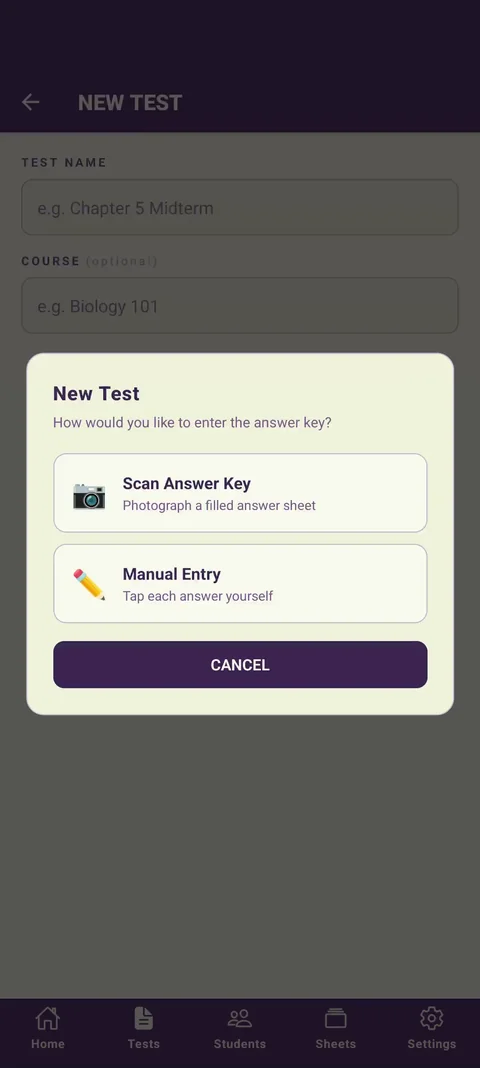
From the Tests tab, tap + NEW. You'll immediately be asked to choose between two ways to set up the answer key:
Scan Answer Key - you scan a bubble sheet that already has the correct answers marked, and CamGrader reads them off automatically. This is the fastest option if you're already printing bubble sheets for your class.
Manual Entry - you tap in the correct answer for each question yourself, right on your device. This is the better option if you don't have a physical key sheet handy, or you're building the key from a textbook or answer document.
There are two ways to get a scannable key sheet:
Paper - print a blank bubble sheet, hand-bubble in the correct answers yourself, then scan it just like you would a student's sheet.
Key Generator - go to camgrader.com/keygen, type or paste in your answers, and it generates an on-screen sheet with the correct bubbles already filled in. You can scan that directly from your screen or a printout - no hand-bubbling needed. See How to Use the Online Key Generator for the full walkthrough.
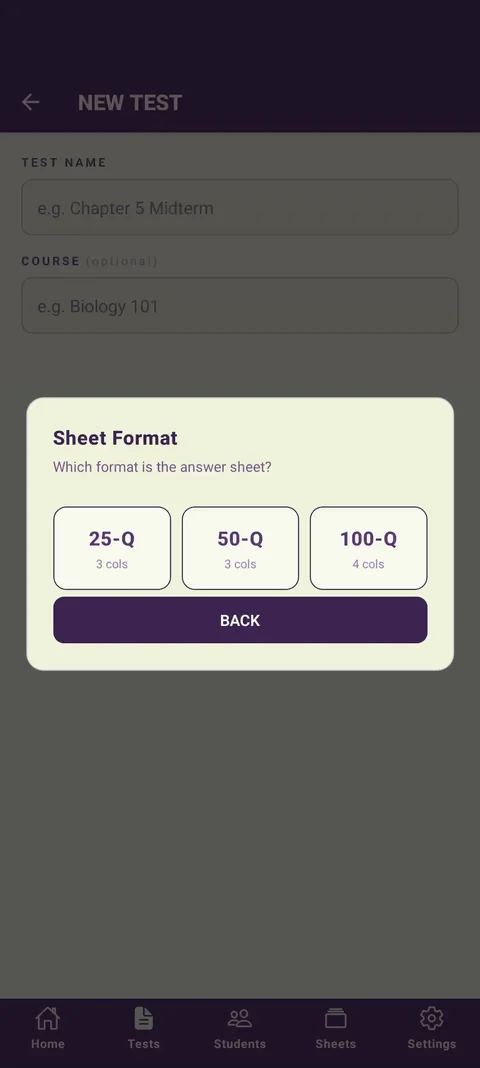
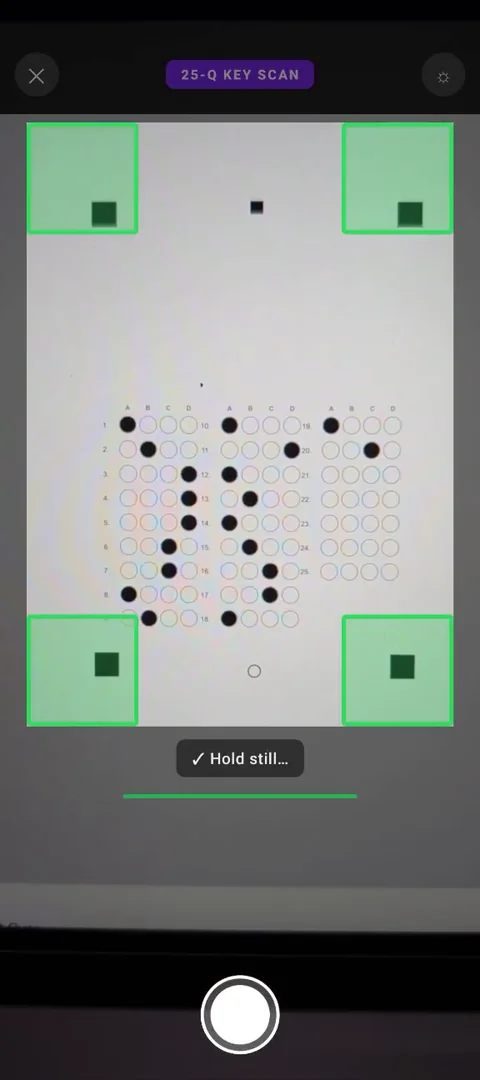
Either way, you'll first be asked which sheet format the key uses (25, 50, or 100 questions), then the camera opens to scan it.
Next, give your test a name and, optionally, a course - this is just for your own organization and shows up when you're browsing your test list later.
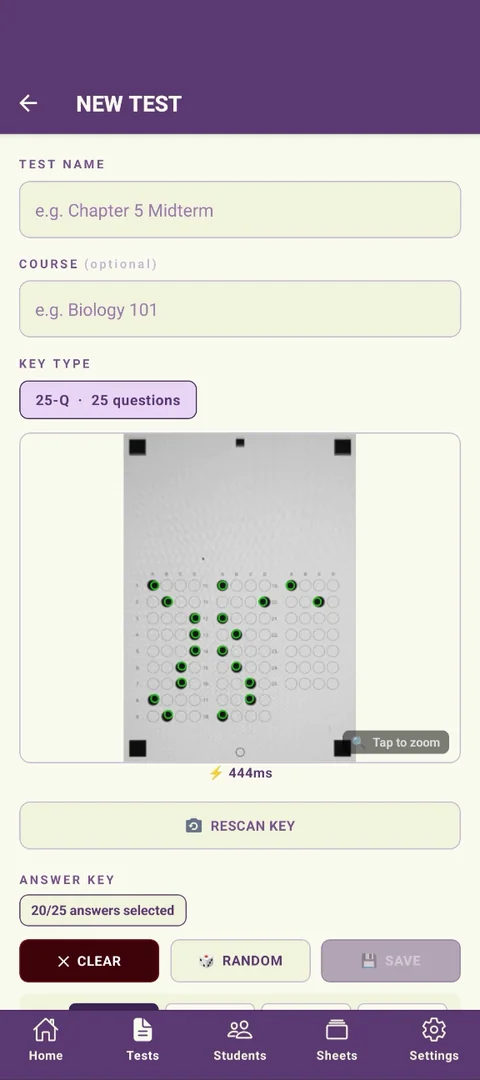
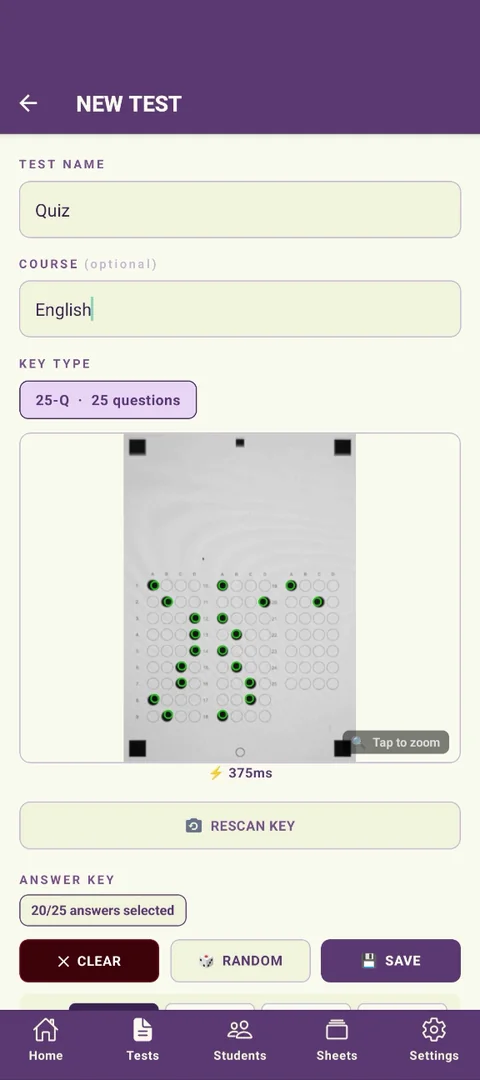
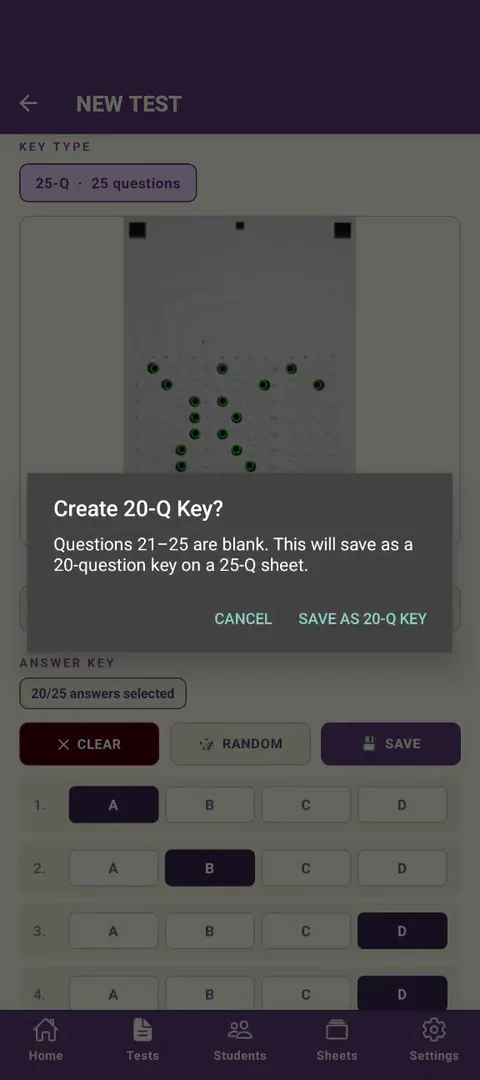
If your test has fewer questions than the bubble sheet has rows, that's fine - leave the extra rows blank when you bubble or scan the key, and CamGrader will detect where your answers stop and save the key at the right length automatically. You'll see a quick confirmation before it saves:
Tap through each question number and select the correct answer choice. You can leave trailing questions blank the same way as above if your sheet format has more rows than you need.
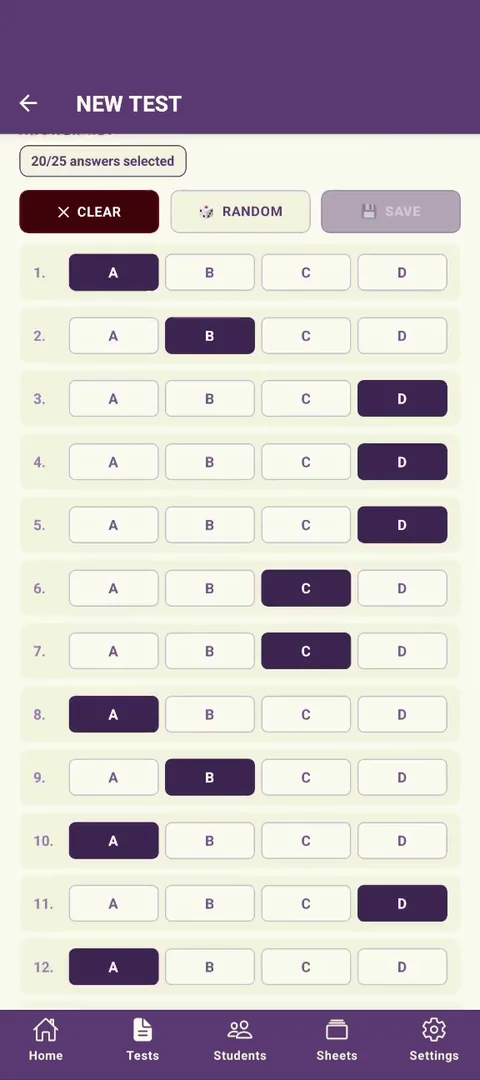
Once your key is saved, your test is ready.